Understanding Primer Paint for Bathroom Ceilings

Primer paint is an essential part of preparing your bathroom ceiling for a fresh coat of paint. It creates a smooth, even surface for the top coat to adhere to, resulting in a more professional and long-lasting finish.
Importance of Primer Paint
Primer paint plays a crucial role in ensuring the success of your bathroom ceiling painting project. It serves as a foundation for the top coat, enhancing its adhesion, durability, and overall appearance.
Unique Challenges of Bathroom Ceilings
Bathroom ceilings are particularly susceptible to moisture, humidity, and mildew growth due to frequent steam and condensation. These factors can affect the adhesion and longevity of paint, making a primer essential for a successful paint job.
Types of Primer Paint for Bathroom Ceilings
Several types of primer paint are suitable for bathroom ceilings, each offering unique benefits:
Oil-Based Primer
Oil-based primers are known for their excellent adhesion, moisture resistance, and durability. They are particularly effective in sealing stains and preventing them from bleeding through the top coat. However, they have a strong odor and require longer drying times.
Acrylic Primer
Acrylic primers are water-based and offer a faster drying time and lower odor compared to oil-based primers. They are also less toxic and easier to clean up. Acrylic primers provide good adhesion and moisture resistance, making them suitable for most bathroom ceiling applications.
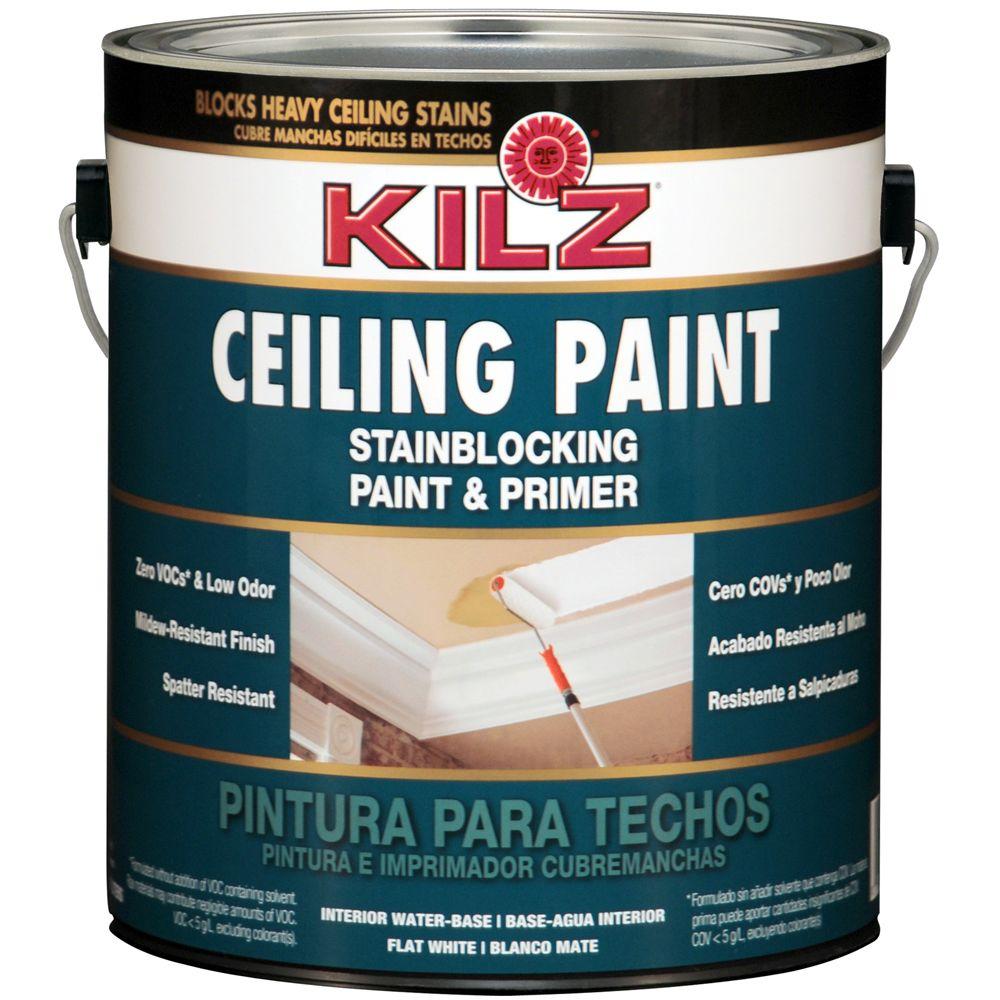
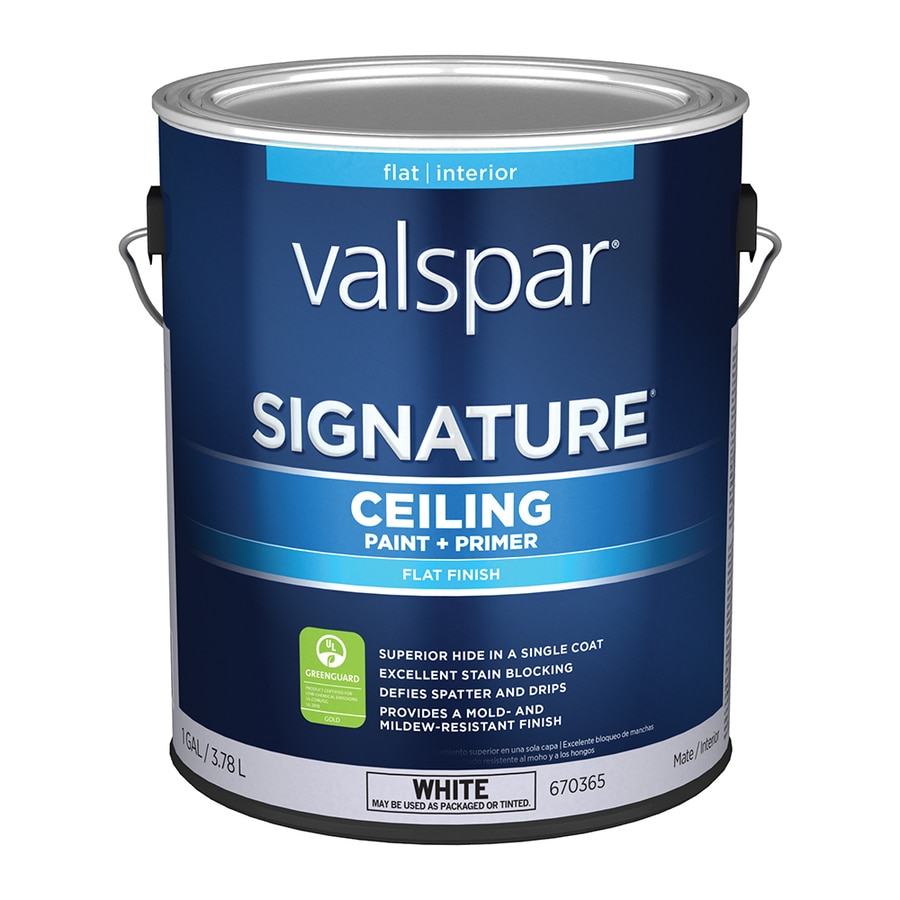
Stain-Blocking Primer
Stain-blocking primers are designed to prevent stains from bleeding through the top coat. They are particularly useful for covering water stains, mildew, or other discoloration on bathroom ceilings. Stain-blocking primers are available in both oil-based and acrylic formulations.
Choosing the Right Primer Paint
When selecting a primer for your bathroom ceiling, consider the following factors:
- Type of surface: Different primers are formulated for specific surfaces. Choose a primer designed for drywall, plaster, or other materials used in your bathroom ceiling.
- Existing conditions: Assess the condition of your bathroom ceiling. If there are stains, mildew, or other imperfections, opt for a stain-blocking primer.
- Moisture levels: In bathrooms with high moisture levels, a primer with excellent moisture resistance is essential.
- Drying time: Consider the drying time of the primer. Oil-based primers require longer drying times than acrylic primers.
- Odor: If you are sensitive to strong odors, choose a water-based primer with a lower odor.
Applying Primer Paint to Bathroom Ceilings: Primer Paint For Bathroom Ceiling

Applying primer paint to your bathroom ceiling is a crucial step in achieving a smooth and durable finish for your paint job. It helps to create a uniform surface for the topcoat, improves adhesion, and prevents stains from bleeding through.
Preparing the Bathroom Ceiling, Primer paint for bathroom ceiling
Before applying primer, it is essential to prepare the bathroom ceiling thoroughly to ensure a successful and long-lasting paint job. Proper preparation involves removing any loose or flaking paint, cleaning the surface, and filling any cracks or holes.
- Remove loose paint: Use a scraper or sandpaper to remove any loose or flaking paint. This will create a smooth surface for the primer to adhere to.
- Clean the surface: Use a damp cloth and mild detergent to clean the ceiling. This will remove dirt, dust, and grime, which can interfere with the primer’s adhesion.
- Fill cracks and holes: Use spackling compound or patching plaster to fill any cracks or holes in the ceiling. Allow the patching compound to dry completely before sanding it smooth.
- Sand the ceiling: Sand the entire ceiling with fine-grit sandpaper to create a smooth and even surface. This will help the primer to adhere evenly and prevent brush strokes from showing through the topcoat.
Applying Primer Paint
Applying primer paint to your bathroom ceiling requires the right tools and techniques to ensure a smooth and even finish. This section will guide you through the proper application process.
- Use a roller: For large areas like a bathroom ceiling, a roller is the most efficient tool for applying primer. Choose a roller with a nap length suitable for the texture of your ceiling. A shorter nap roller is better for smooth surfaces, while a longer nap roller is better for textured surfaces.
- Use a brush for edges: Use a brush to apply primer along the edges and corners of the ceiling where the roller cannot reach. A 2-inch angled brush is ideal for this purpose.
- Apply thin coats: Apply thin, even coats of primer to the ceiling. Avoid applying too much primer at once, as this can cause it to drip and run. Apply primer in a “W” pattern to ensure even coverage.
- Let each coat dry completely: Allow each coat of primer to dry completely before applying the next coat. The drying time for primer varies depending on the brand and the humidity levels in the room. Refer to the manufacturer’s instructions for the recommended drying time.
Tools and Materials
Having the right tools and materials is essential for a successful primer application. Here is a list of essential items:
- Primer paint: Choose a primer specifically designed for bathrooms. These primers are formulated to resist moisture and mildew growth.
- Paint roller: Select a roller with a nap length appropriate for the texture of your ceiling.
- Paint tray: A paint tray with a liner is essential for holding and applying primer.
- Paint brush: Use a 2-inch angled brush for applying primer along the edges and corners.
- Extension pole: An extension pole is necessary to reach the ceiling easily.
- Sandpaper: Use fine-grit sandpaper to smooth the ceiling before applying primer.
- Spackling compound or patching plaster: Use this to fill any cracks or holes in the ceiling.
- Drop cloths: Protect your floors and furniture from paint splatters.
- Safety glasses: Protect your eyes from paint splatters and dust.
- Mask: Protect yourself from dust and paint fumes.
Drying Time and Ventilation
Proper ventilation is crucial when applying primer in a bathroom. It helps to prevent the accumulation of fumes and ensure proper drying of the primer.
“The drying time for primer paint in a bathroom typically ranges from 2 to 4 hours. However, it is always recommended to refer to the manufacturer’s instructions for the specific drying time of the primer you are using.”
- Open windows and doors: Open windows and doors to ensure adequate ventilation during and after applying primer.
- Use a fan: A fan can help to circulate air and speed up the drying process.
- Avoid using the bathroom: Avoid using the bathroom until the primer has dried completely. This will prevent moisture from affecting the primer’s drying time.
Primer paint for bathroom ceiling – A primer paint for your bathroom ceiling is essential for creating a smooth, even surface that will allow your chosen paint to adhere properly. While you may be considering a vibrant hue like dulux sage green bathroom paint for the walls, remember that a white primer on the ceiling will help to brighten the space and create a sense of spaciousness.
Applying primer before your top coat will ensure a flawless finish that lasts.
Primer paint is a crucial first step when painting a bathroom ceiling, as it creates a smooth, even surface for the top coat to adhere to. While primer is essential for creating a flawless finish, the top coat is where you get to choose the look and feel you want.
For a bathroom ceiling, flat paint is often the preferred choice due to its ability to hide imperfections and provide a clean, matte finish. The primer helps the flat paint adhere better, ensuring a durable and long-lasting result.